
People often store a multitude of personal photos and videos on their devices and computers. Some of these items contain sensitive information that should be kept private. This is where the Google Photos Locked Folder comes in.
Similar to the iPhone’s Photos app, the Locked Folder feature allows you to hide and unhide photos on your device. It creates a passcode-protected space where you can securely save your items. Additionally, you have the option to back up the Locked Folder on the cloud, enabling access to your content from different devices.
Bạn đang xem: Google Photos Locked Folder: Hide Sensitive Photos & Videos
Part 1: How to Set up Google Photos Locked Folder
To set up a Locked Folder on your smartphone, follow these simple steps:
- Launch the Google Photos app on your mobile device and navigate to the Library section.
- Select Utilities.

- Under Utilities, tap on Locked Folder.
- Tap Set up Locked Folder.
- Follow the prompts to unlock your device. You must set up a screen lock for your Android device before using Locked Folder. The Locked Folder password is the same as your phone’s screen lock.

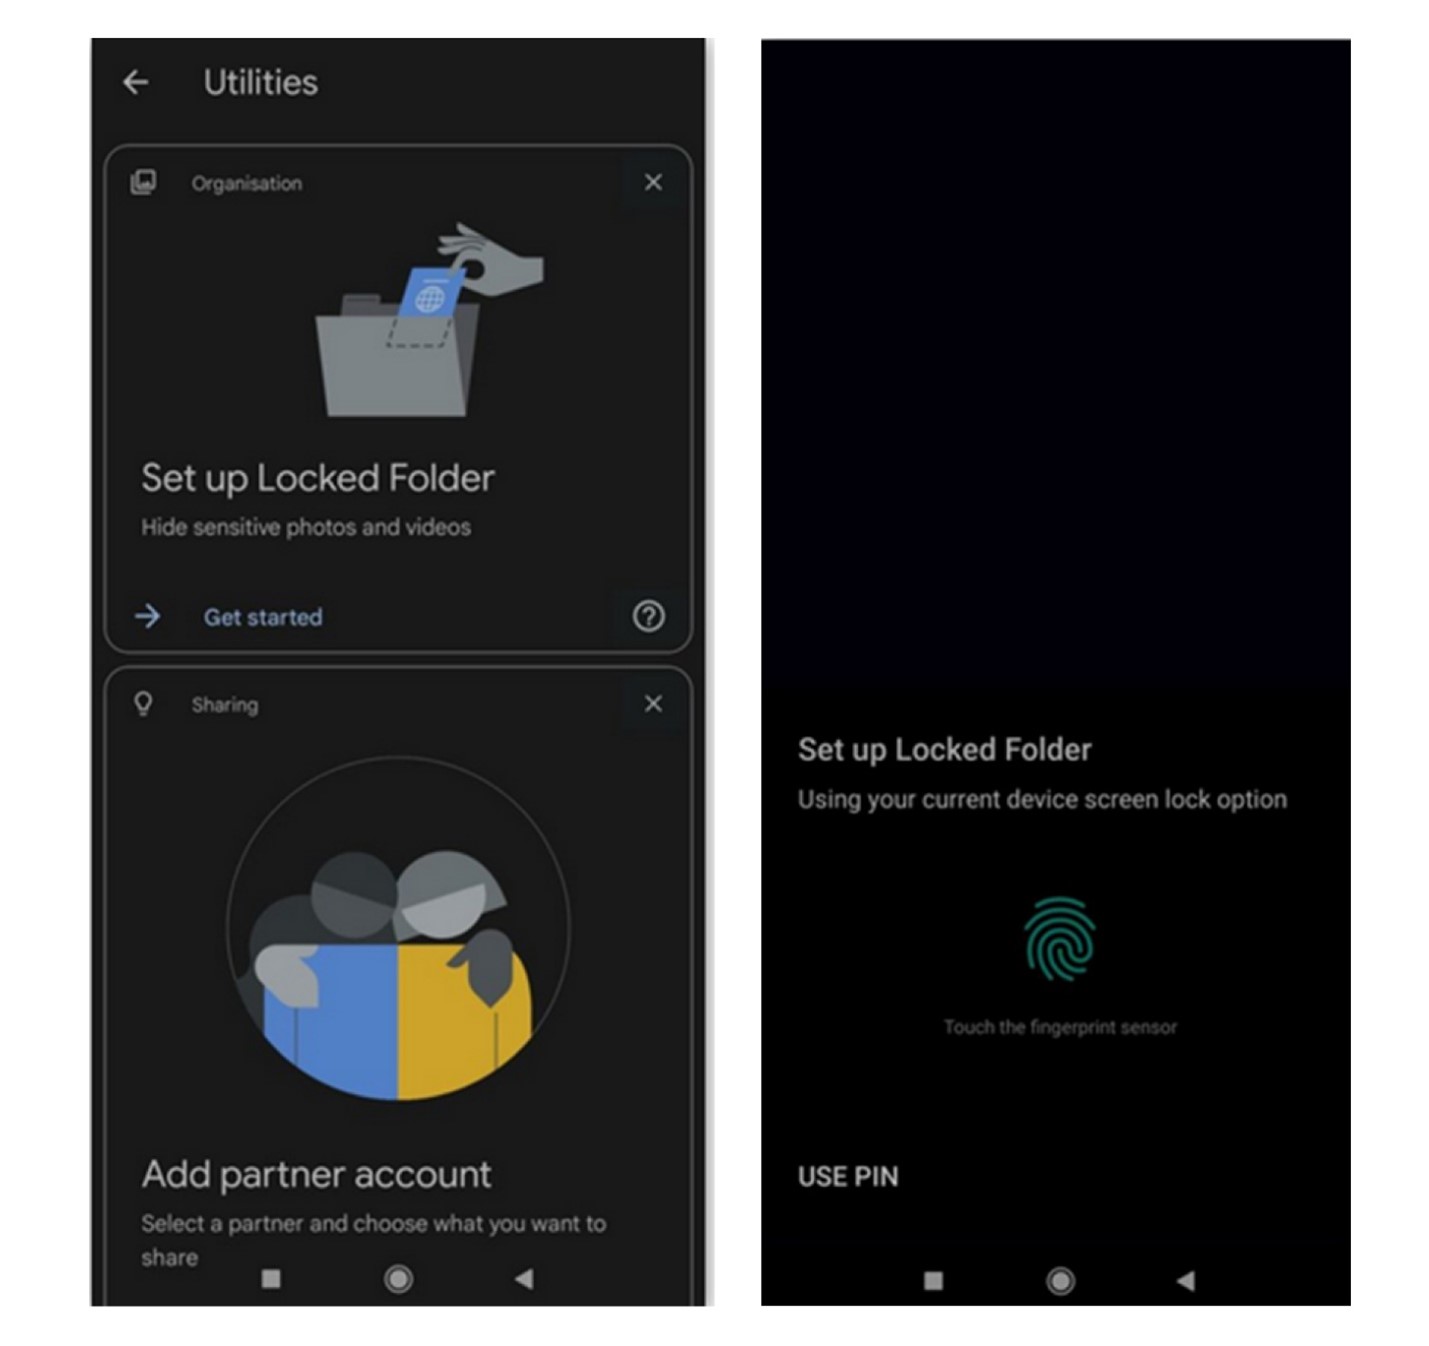
For iPhone or iPad users, you need to set up Face ID, Touch ID, or a passcode to use the Locked Folder. The Locked Folder password will be the same as your Face ID, Touch ID, or passcode.
Part 2: How to Move Photos & Videos into the Locked Folder
Now that you have set up the Locked Folder, adding sensitive photos and videos is a breeze. Here’s how you can do it:
On your mobile device:
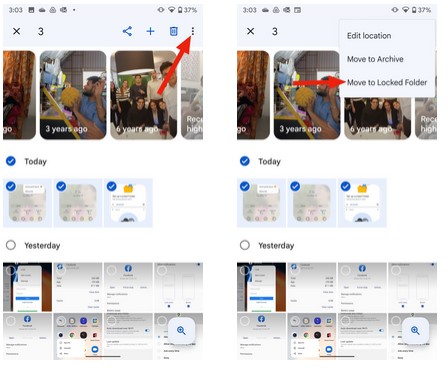
- Open the Google Photos app, go to Photos, and select the pictures and videos you want to add to the Locked Folder.
- Tap More at the top right of the screen and then Move to Locked Folder.
- Tap Move to confirm your choice.
Xem thêm : Lazy Halloween Costumes
On a Windows PC:
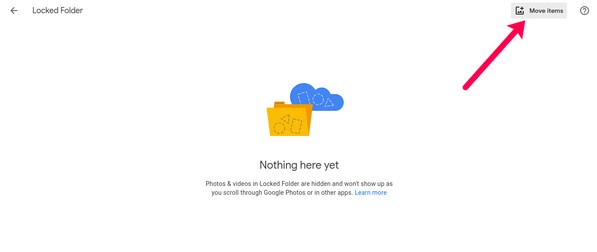
- From the Locked Folder window that says “Nothing here yet,” click Move items on the top-right.
- Select the photos and videos you want to move to your Locked Folder.
- Click “Move to locked folder” to import the selected items.
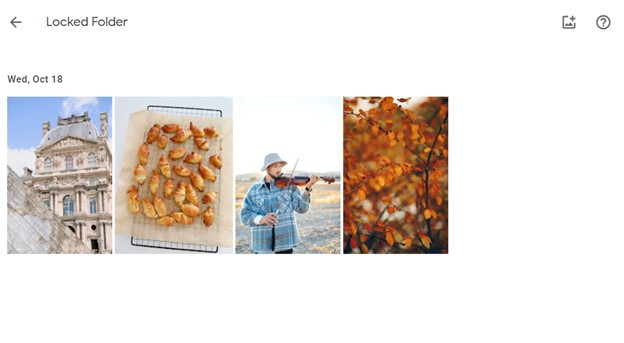
Part 3: How to Access the Locked Folder in Google Photos
Accessing the Locked Folder in Google Photos on your mobile device is simple. Just follow these steps:
- Launch the Google Photos app and go to the Library section.
- Choose Utilities and then select the Locked Folder option.
- Authenticate yourself. After that, you’ll be presented with all the photos and videos you added to the Folder.
Part 4: Easy Way to Safely Back Up Your Sensitive Photos & Videos
To ensure the safety of your photos and videos in the Locked Folder, it’s essential to have a backup. Items stored in the Folder without backup are only saved on that device. Although Google Photos Locked Folder is password-encrypted, it is still connected to the Internet and not fully protected.
To add an extra layer of security to your items, you can back up the Locked Folder’s content using the backup feature on your phone. Alternatively, you can use Wondershare MobileTrans, which provides a safe and convenient way to back up sensitive files. With a few clicks, you can securely back up your private photos and videos to a computer. This method is even more secure than Google backup since only you can access your computer data.
MobileTrans can back up more than 18 file types, including photos, videos, documents, music, and WhatsApp messages. It also allows seamless data transfer between devices and contact management. This tool supports both Android and iOS on over 6,000 types of devices.
Steps to back up data to a PC with MobileTrans:
- Download and install MobileTrans on your PC for free.
- Connect your mobile device to the PC using a functional USB data cable or a lightning cable.
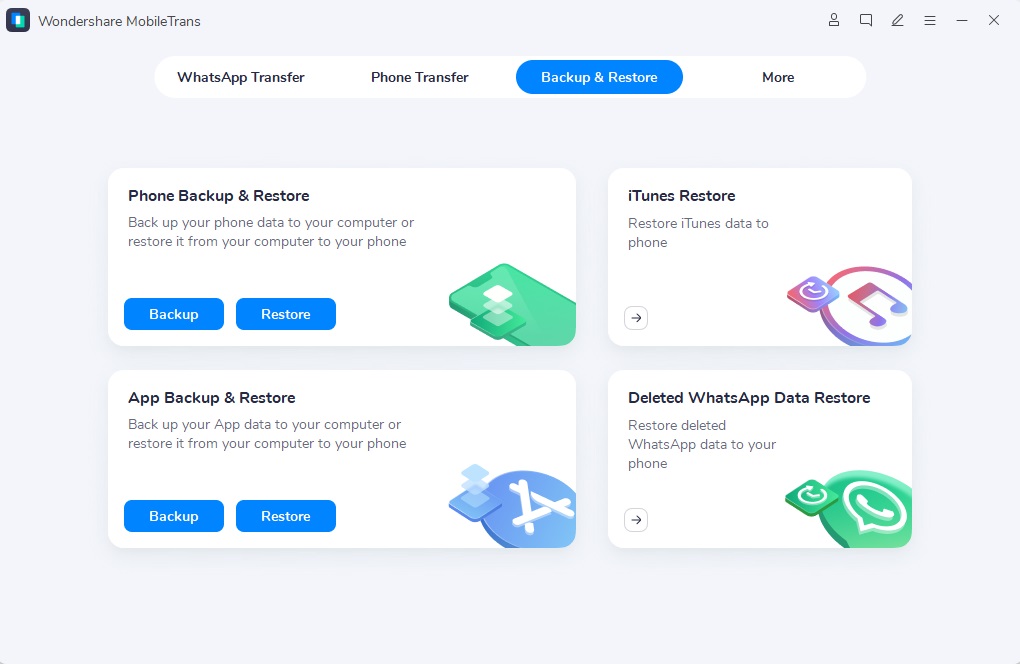
- Open MobileTrans and choose the Backup & Restore option. Then click on Backup under Phone Backup & Restore.
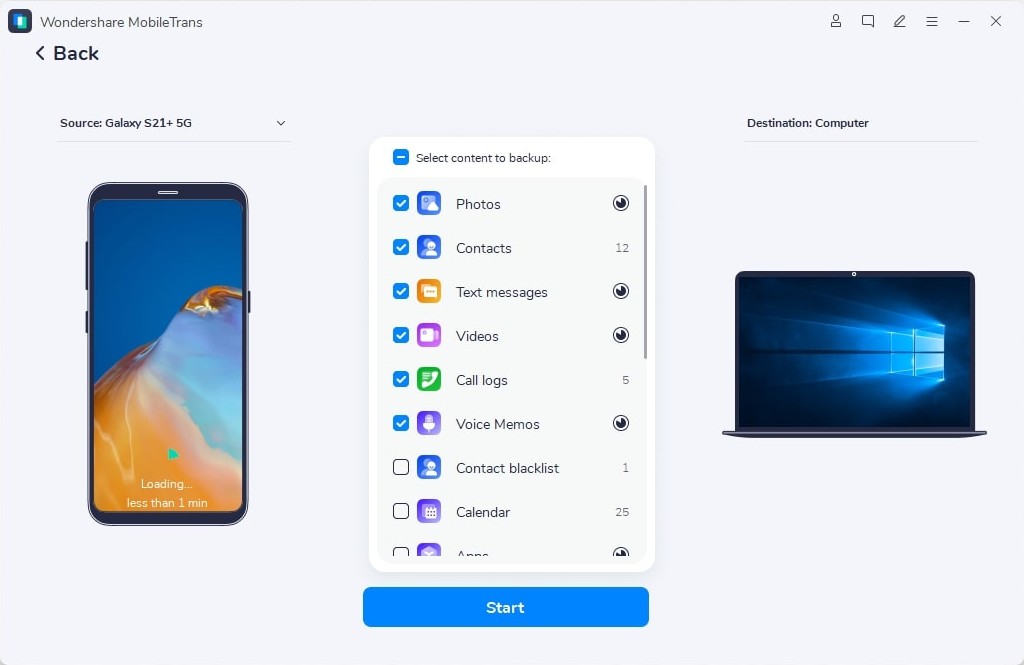
- Once the connection between the phone and PC is established, MobileTrans will display all the supported file types. Choose the files you want to back up.
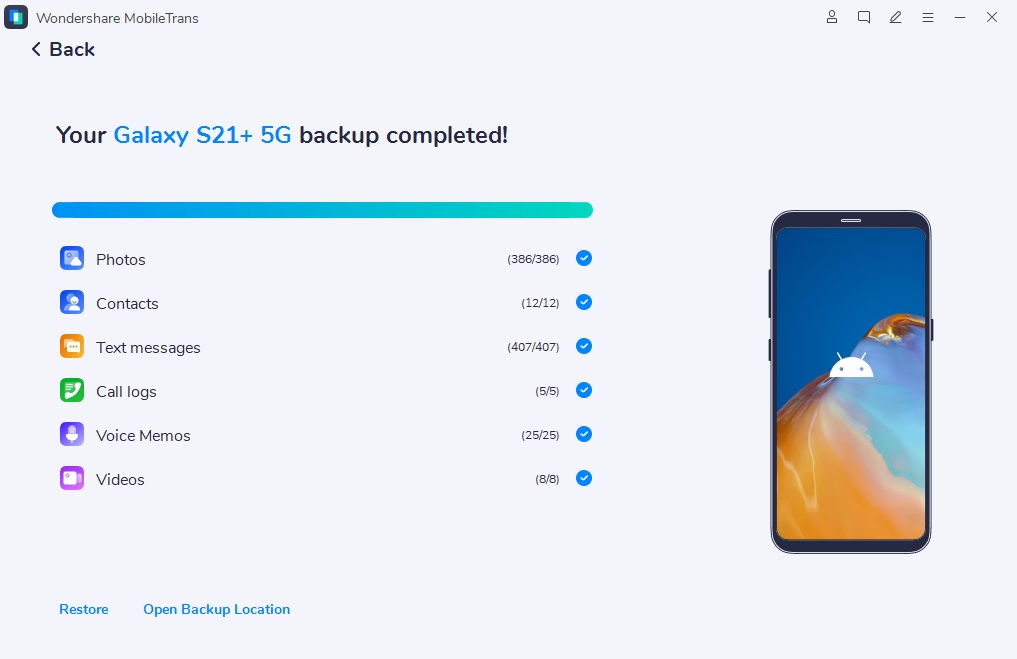
- Click Start and keep your device connected. The backup process will be completed in a few minutes.
Frequently Asked Questions
Xem thêm : Xbox Series X HDMI Port Repair
Q: Can I access the Locked Folder on multiple devices?
A: Yes, you can access the Locked Folder on different devices as long as they are connected to the same Google account.
Q: Is the Locked Folder available for all Android and iOS devices?
A: The Locked Folder feature is only available on Android devices running Android version 6 and later, and iOS versions 15 and later.
Q: Can I move photos and videos from the Locked Folder back to the main library?
A: Yes, you can easily move items from the Locked Folder back to the main library. Simply select the photos or videos you want to move and tap the Move button.
Conclusion
The Google Photos Locked Folder is a unique feature designed to keep your sensitive files secure. It provides an added layer of privacy, allowing you to tuck away private pictures and documents. By following the steps outlined in this guide, you can set up the Locked Folder on your device and ensure that your private content remains safe and hidden from prying eyes. Don’t hesitate to take advantage of this technology and enjoy the peace of mind it offers. Visit Eireview for more informative content on technology and information security.
Nguồn: https://eireview.org
Danh mục: Technology