
When it comes to organizing an automated webinar, having a variety of automations can keep your audience engaged. While automated webinars come with pre-set actions, you also have the option to manually add additional actions. In this article, we will explore how you can add, edit, and remove automations for your automated webinar funnel.
Prior to diving into the process, here’s what you’ll need:
Bạn đang xem: Adding New Actions For Your Automated Webinar
- An active ClickFunnels account
- A Twilio SMS account integrated with your ClickFunnels account (only for adding a new SMS text)
- An automated webinar funnel
- An SMTP integrated with your ClickFunnels account (only for adding a new email)
Method 1: Add New Action
-
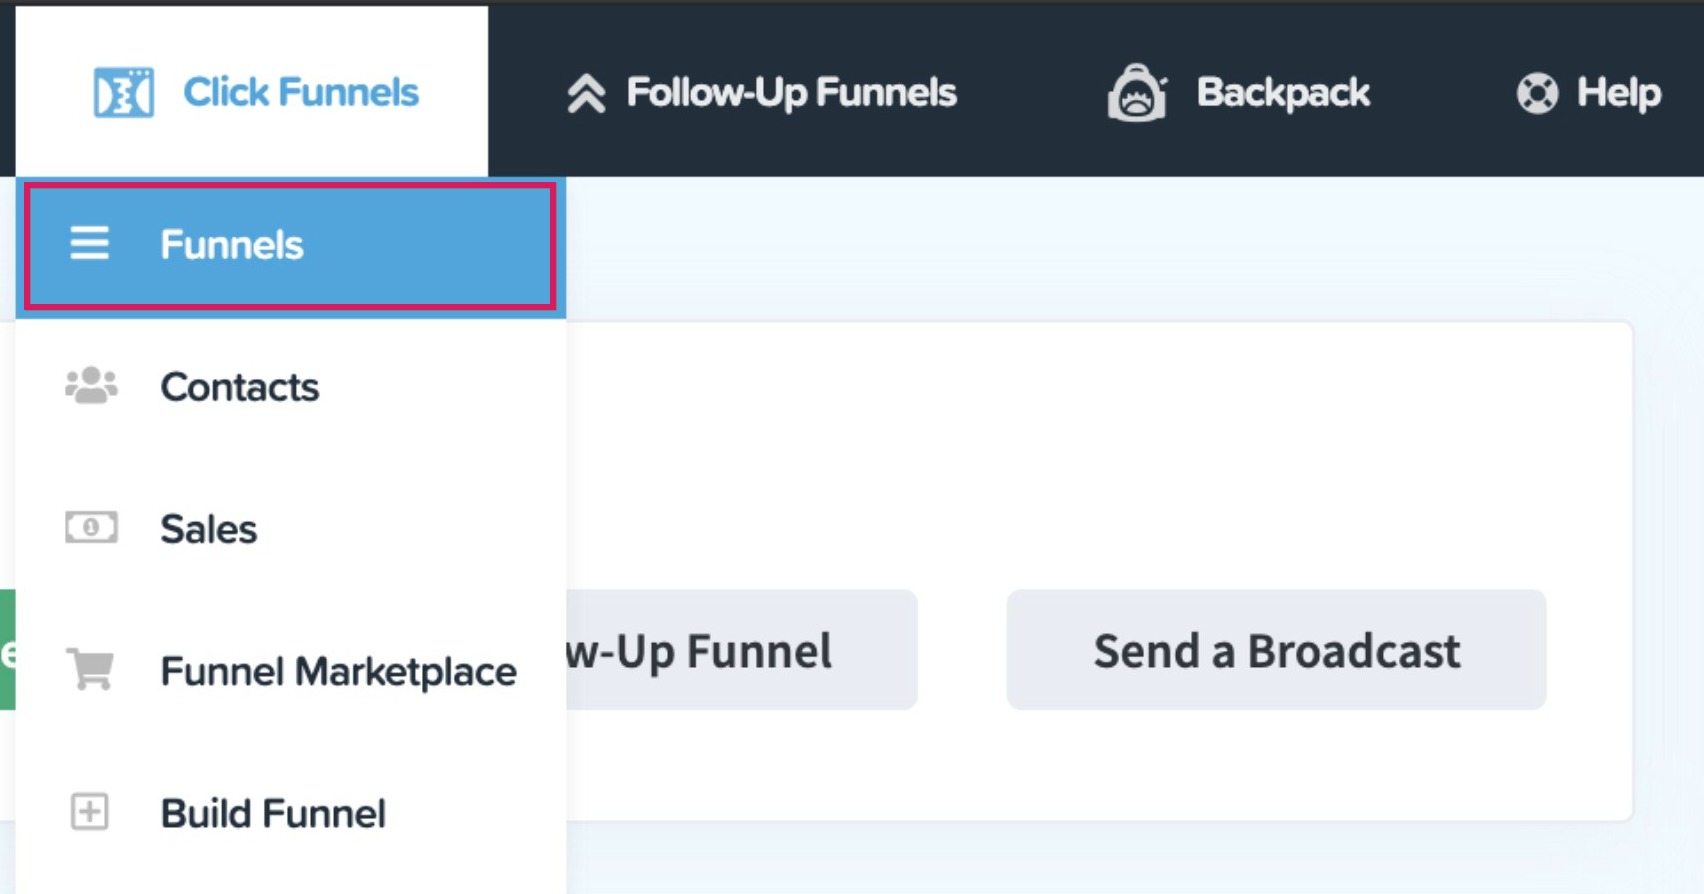
Hover over the ClickFunnels tab at the top of your ClickFunnels dashboard and click Funnels.

-
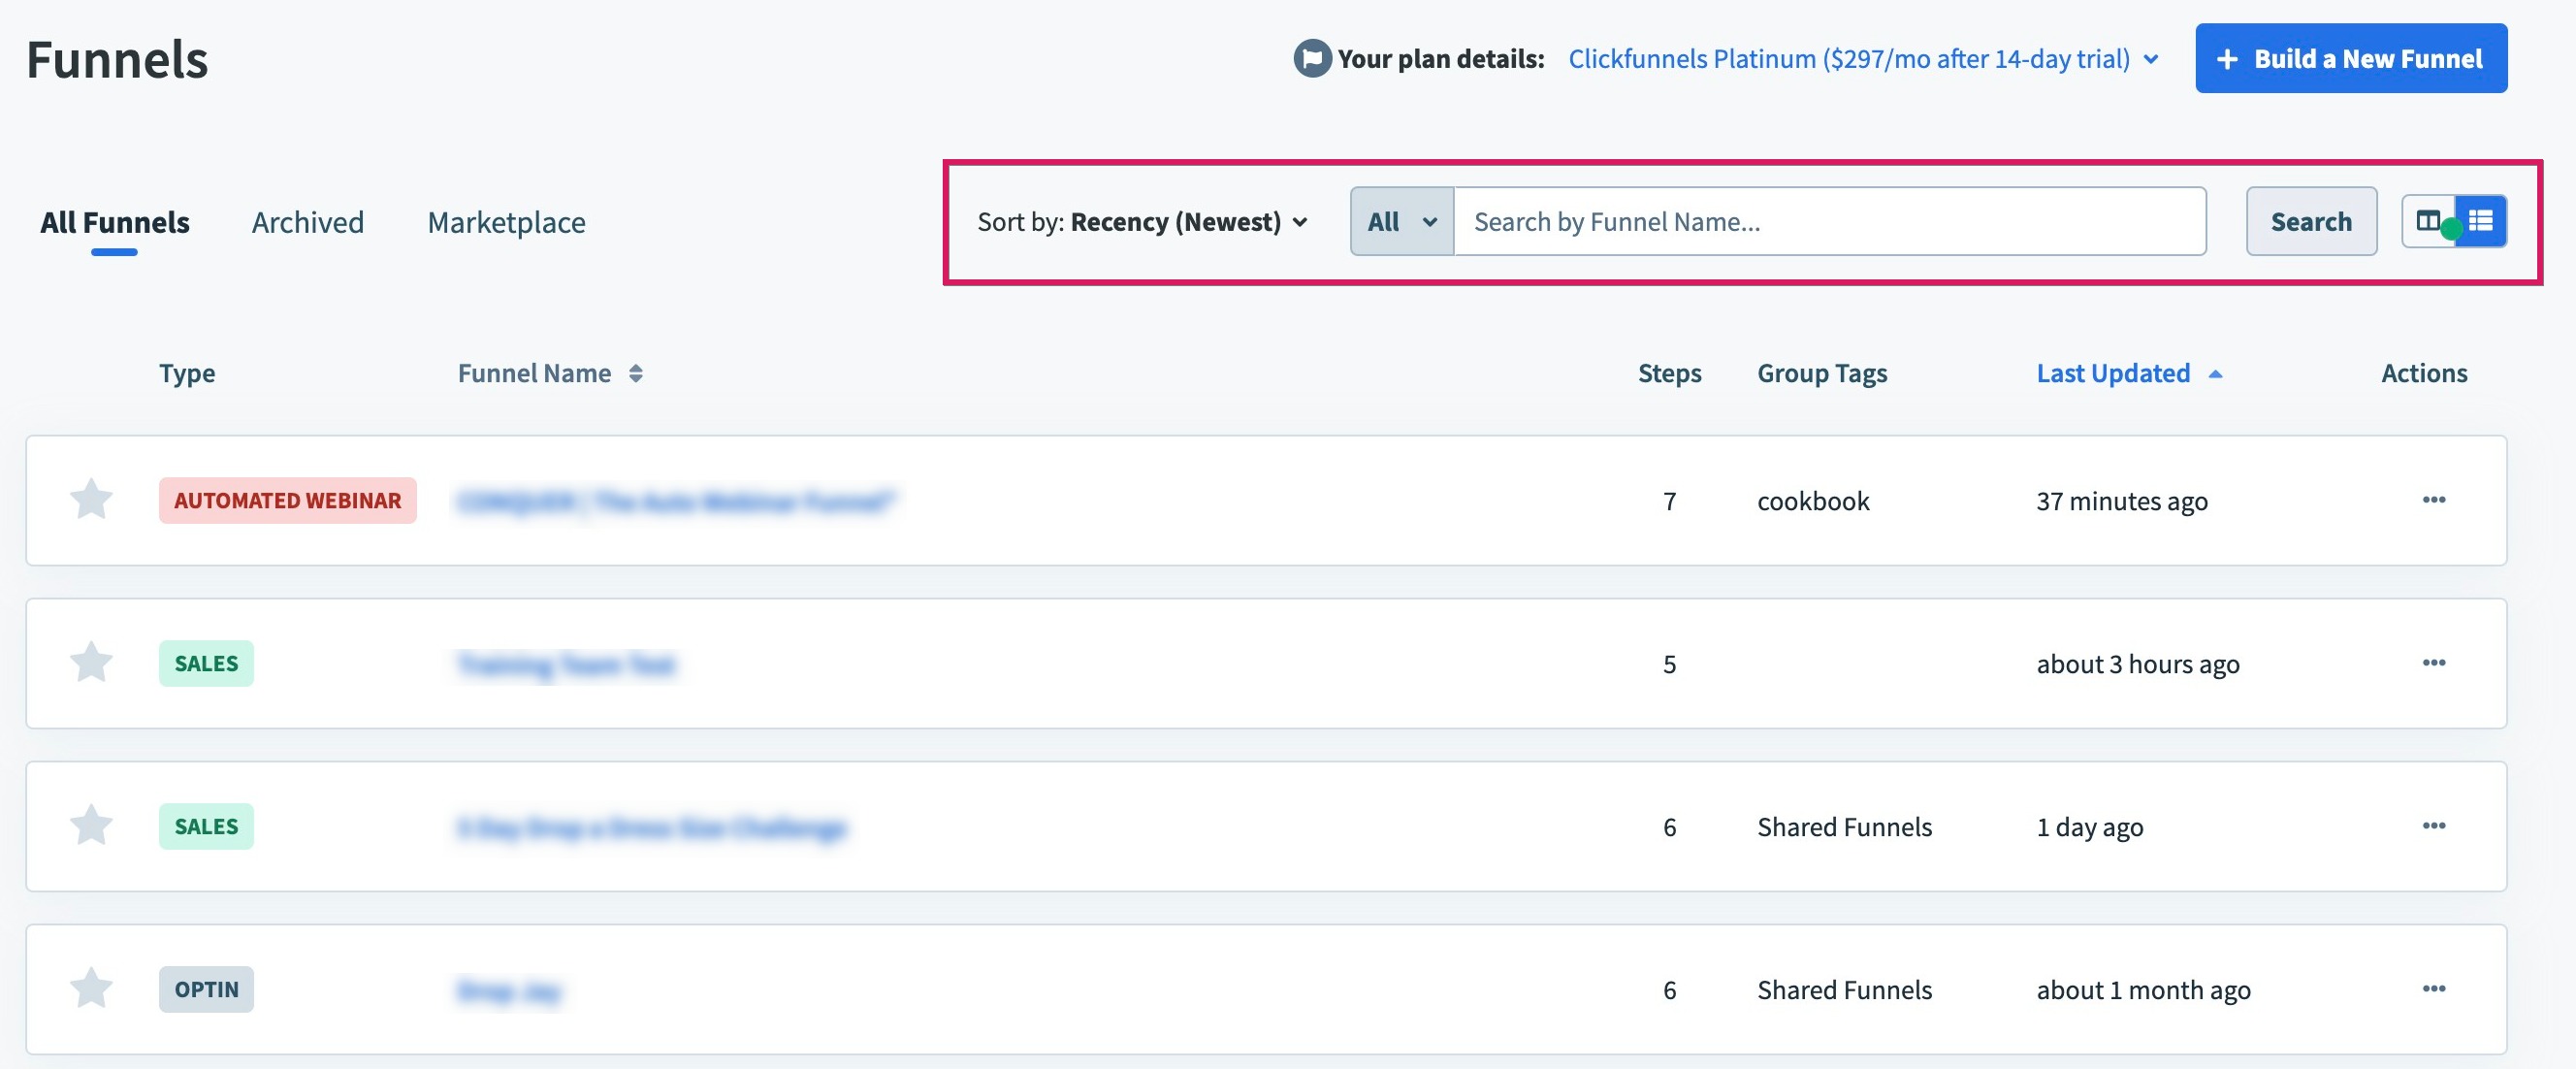
Select your automated webinar funnel from the list using the search bar or by scrolling through the options.
-
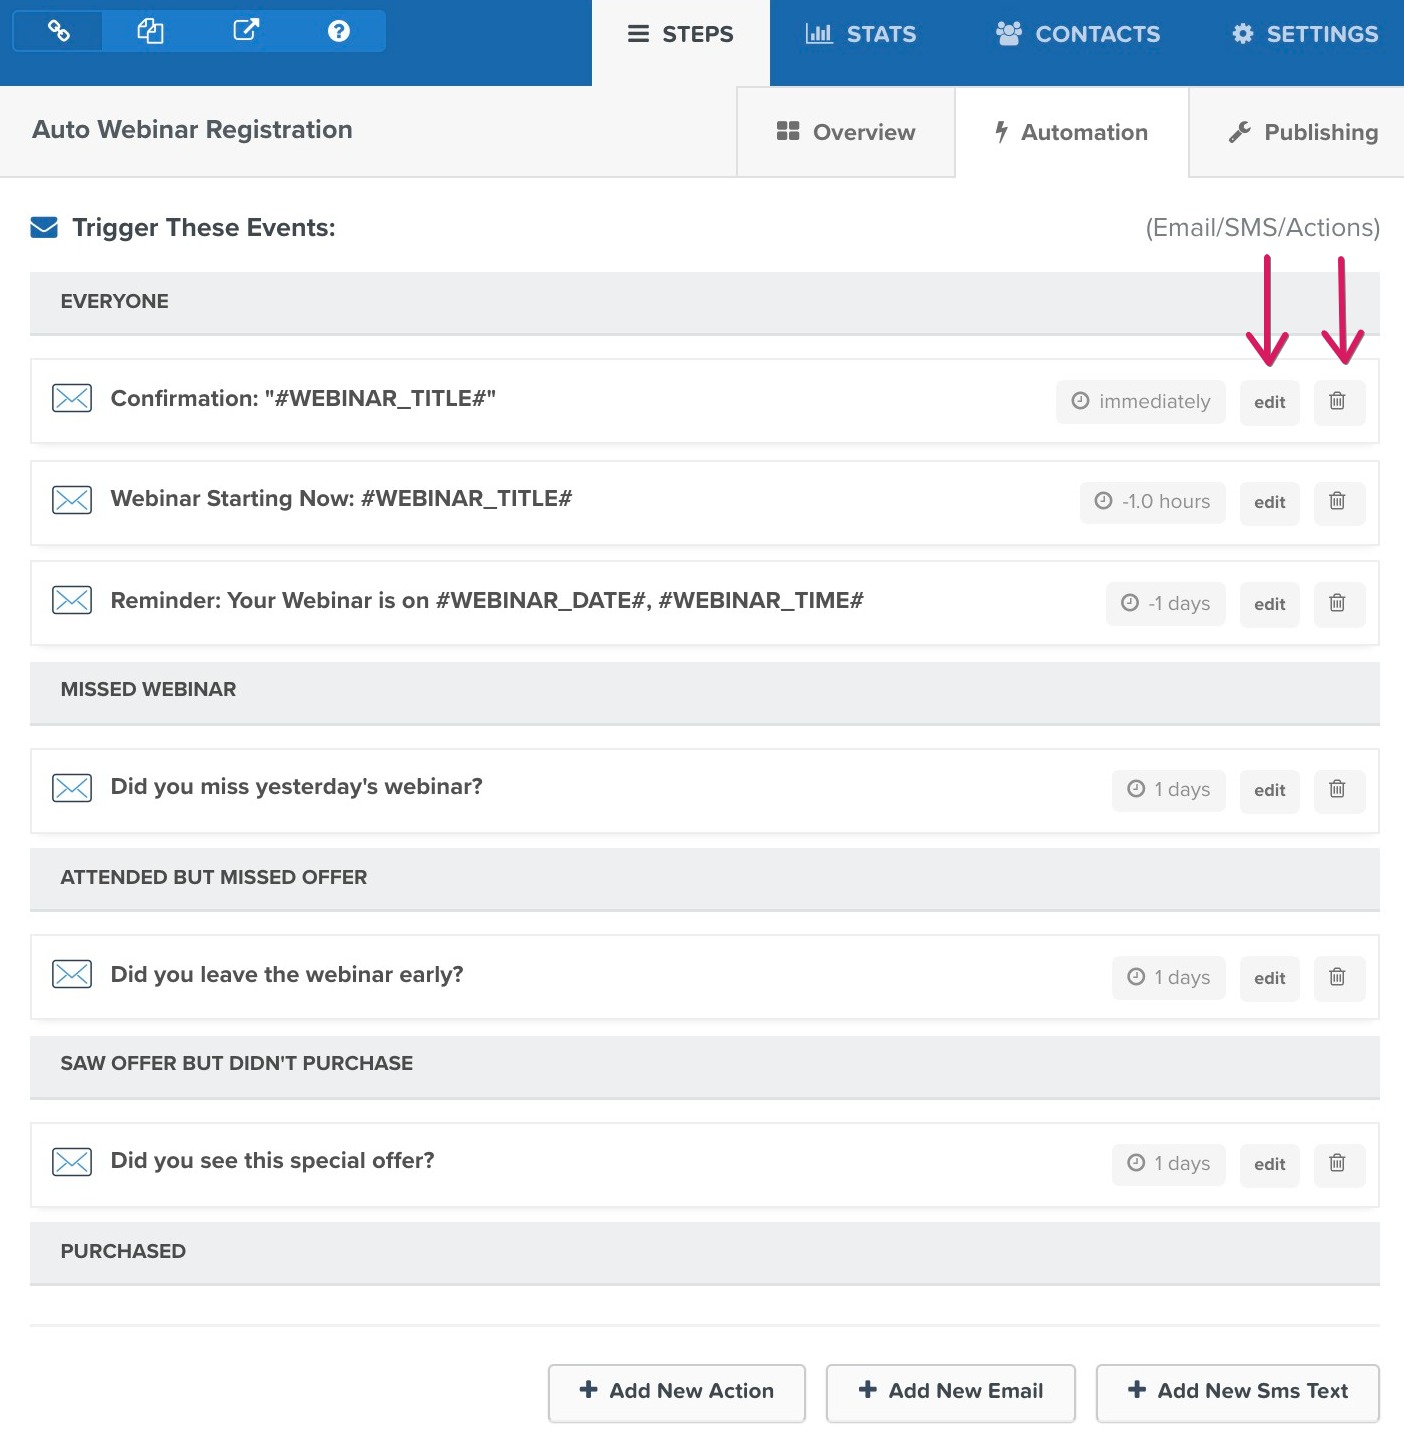
Click the Automations tab located inside the Webinar Registration page on the upper right-hand side.
-
Click the + Add New Action tab at the bottom of the screen.
-
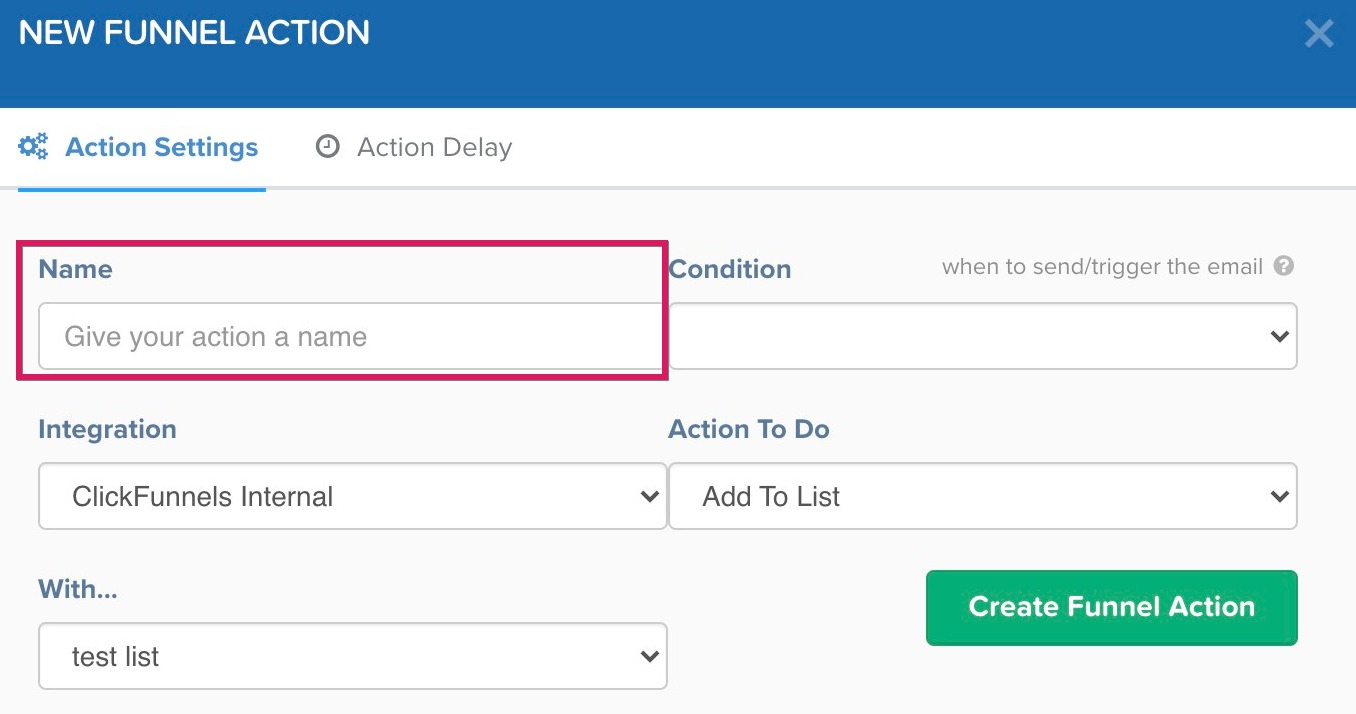
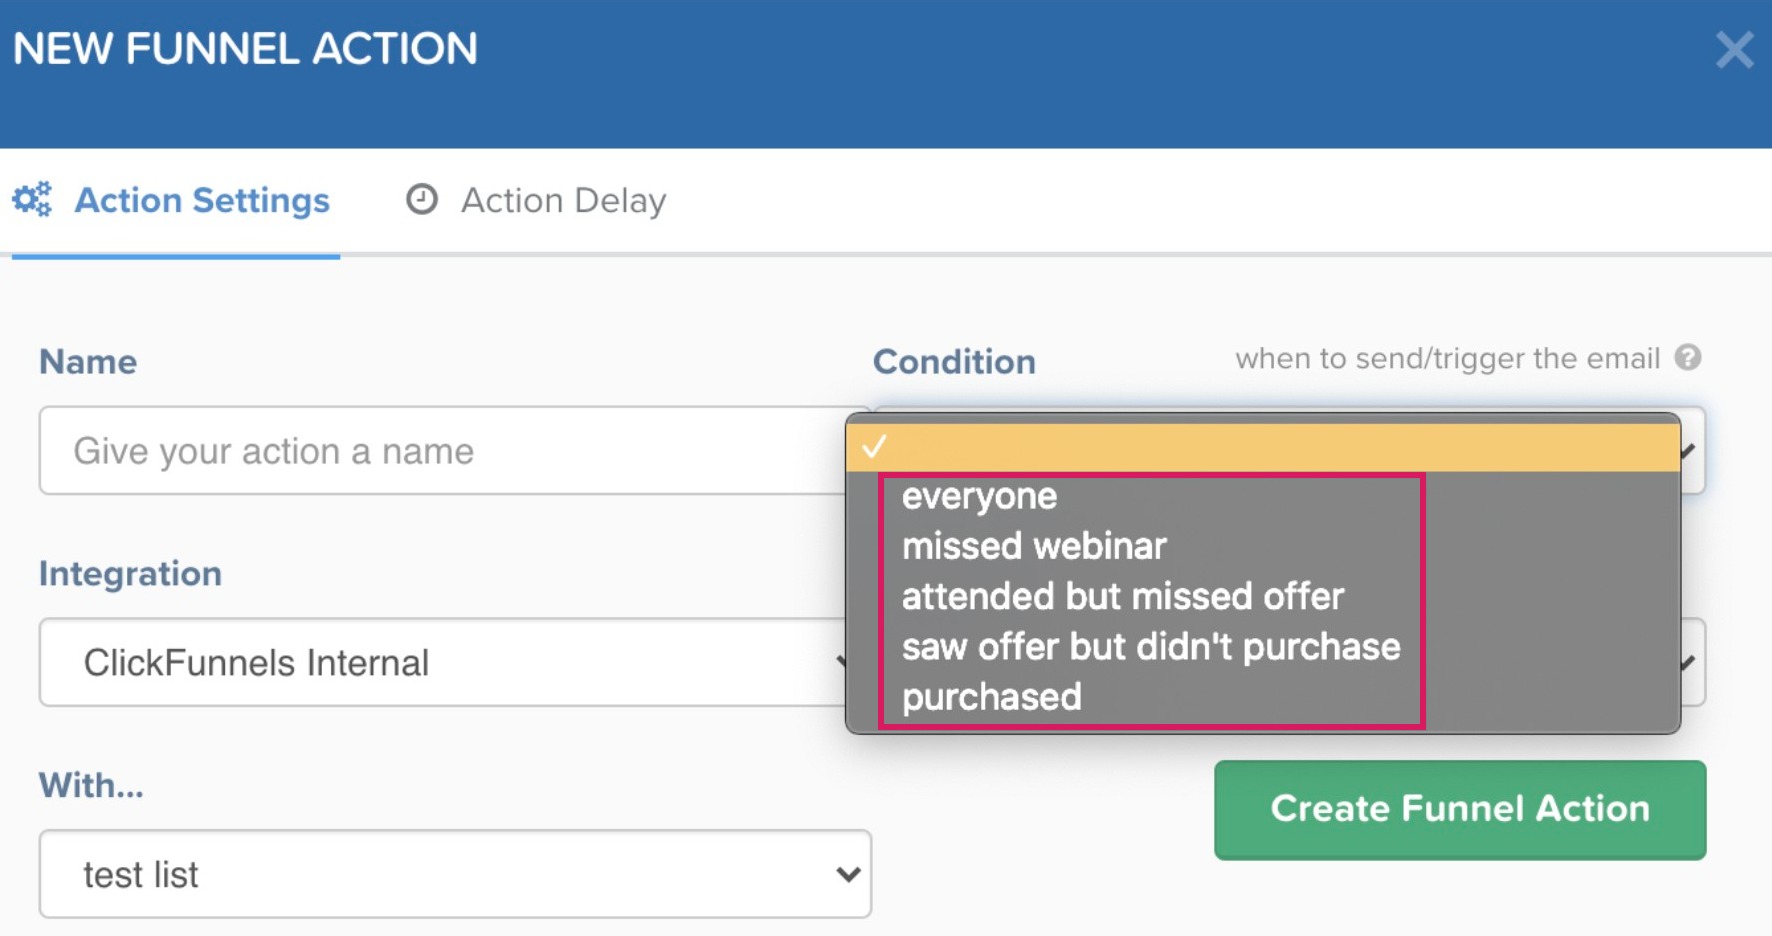
Give your action a name under the Name field.
-
Set the Condition for your action. The available options are:

- everyone
- missed webinar
- attended but missed offer
- saw offer but didn’t purchase
- purchased
-
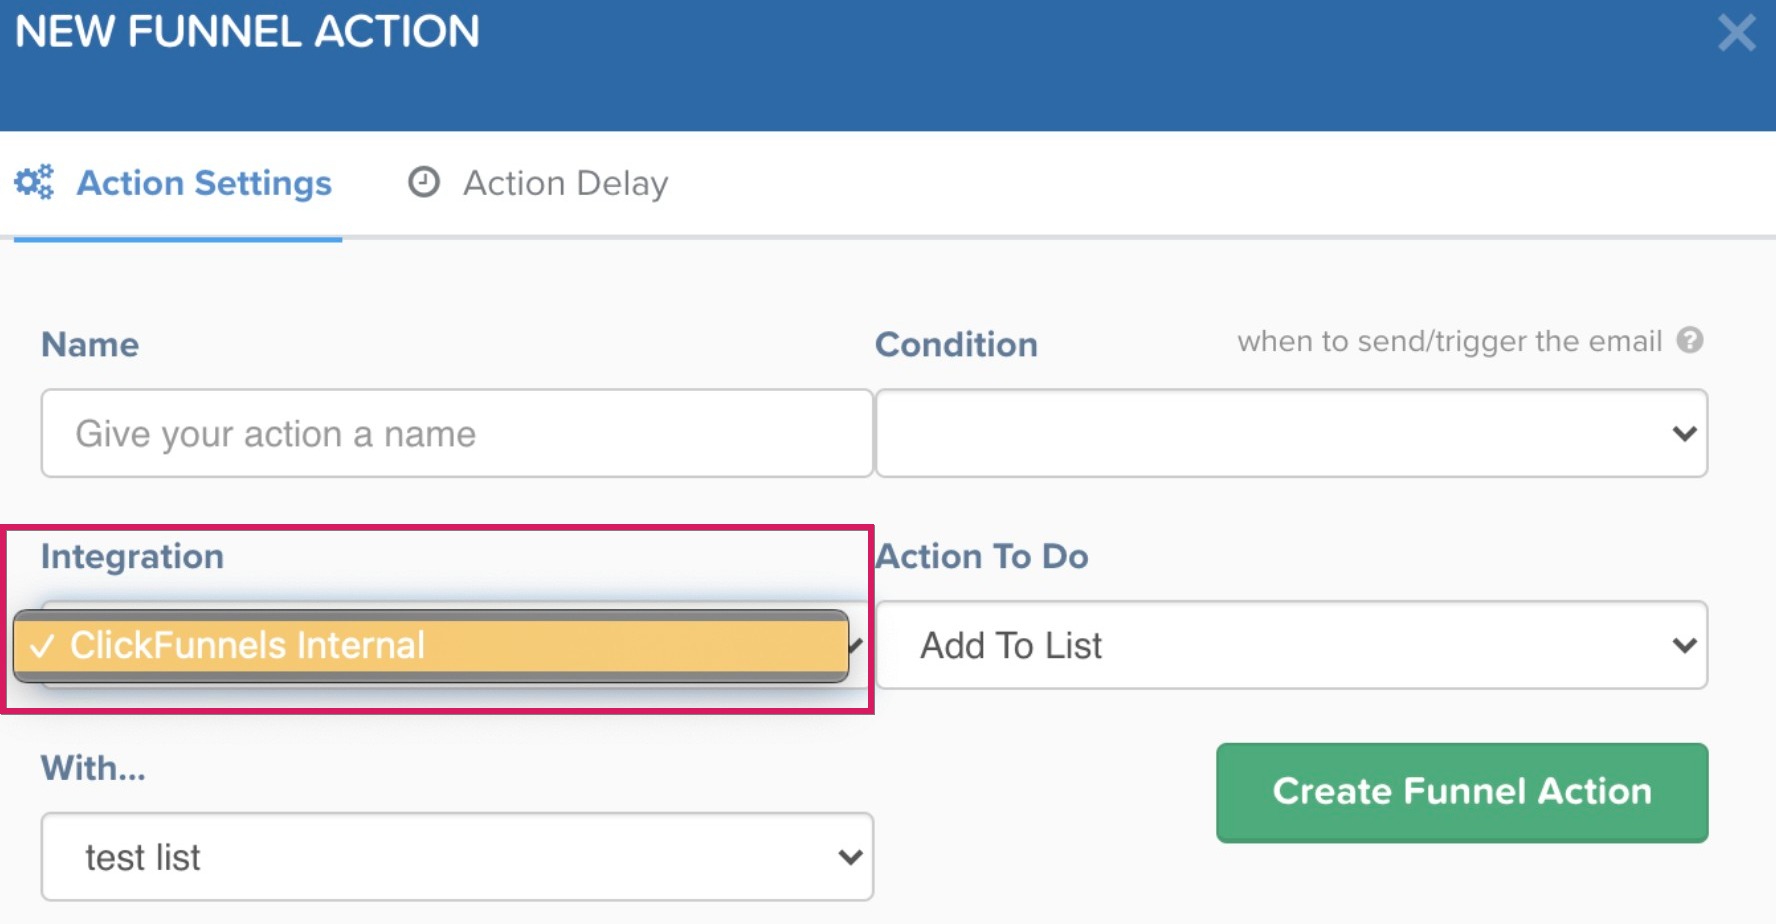
Select your Integration. Currently, the only option is ClickFunnels Internal.
-
Xem thêm : How to Download Apps Without Apple ID Password
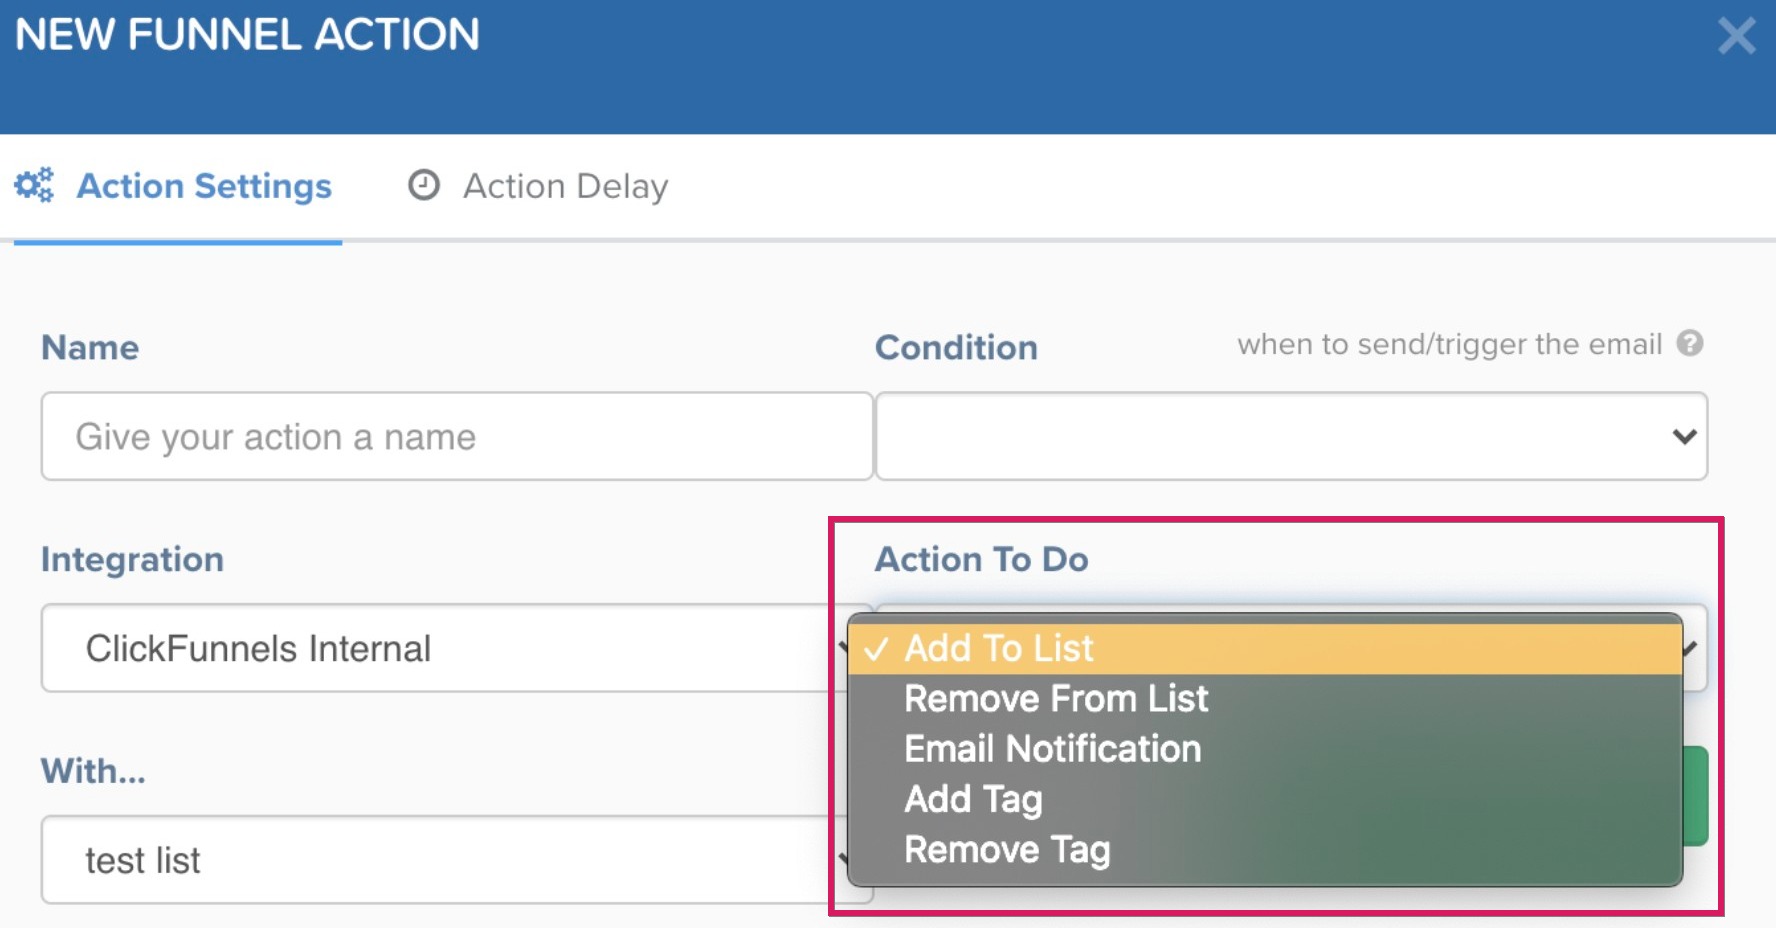
Choose your desired Action To Do. The options include:
- Add To List
- Remove From List
- Email Notification (SMTP integration required)
- Add Tag
- Remove Tag
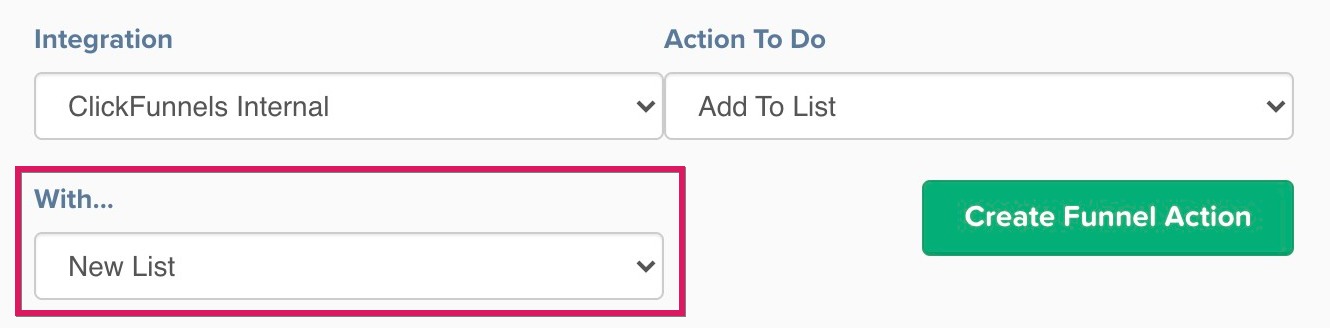
If you are adding or removing from a list, select the desired list under the With… section. If you are adding or removing tags, select the desired tag(s) under the Tags: section.
-
(Optional) Under the Action Delay tab, indicate how many hours and/or days you would like to delay the chosen action from taking place. Alternatively, check the box at the bottom of the window to delay the action from the time the webinar event happens instead of when the webinar attendee opts in.
-
Once you have made your selections, click the Create Funnel Action button.
Method 2: Add An Email
-
Hover over the ClickFunnels tab at the top of your ClickFunnels dashboard and click Funnels.
-
Select your automated webinar funnel from the list using the search bar or by scrolling through the options.
-
Click the Automations tab located inside the funnel on the upper right-hand side of the page.
Important Note: You’ll notice a number of email actions have been added automatically for your convenience. These email actions can be edited or deleted by clicking the edit or trash icon buttons, respectively.
-
Click the + Add New Email tab at the bottom of the screen.
-
For further steps on editing automation emails, please refer to the article here.
Method 3: Add New SMS Text
For the complete steps on adding new automations via SMS text, please consult the article here.
Xem thêm : Cloning iPhone Made Easy: Your 3 Best Easy-To-Use Solutions
If you have any questions, feel free to reach out to our support team by clicking the support icon in the bottom right-hand corner of this page.
Frequently Asked Questions
-
Can I add multiple actions to my automated webinar?
- Yes, you can add as many actions as you need to enhance the automation of your webinar funnel.
-
Can I edit or delete pre-set email actions?
- Absolutely! You have the flexibility to customize pre-set email actions to better suit your needs or remove them entirely.
-
How do I delay an action in my automated webinar funnel?
- Under the Action Delay tab, you can specify the number of hours or days you want to delay the action from taking place.
-
What integrations are available for webinar automations?
- Currently, ClickFunnels Internal is the only integration option.
Conclusion
Adding new actions to your automated webinar funnel can significantly improve audience engagement. By following the methods outlined in this article, you can easily add, edit, or remove actions to optimize the automation process. Experiment with different actions and settings to create a seamless and engaging webinar experience for your audience.
Nguồn: https://eireview.org
Danh mục: Technology